
Henry David Thoreau recounts in his book Walden that went into the woods – living in an isolated cabin near Walden Pond south of Concord, Massachusetts for a period of two years, two months, and two days – because he wished to live deliberately and front only the essential facts of life. He wanted to see if he could not learn what it had to teach, and not, when he came to die, discover that he had not lived.
An opportunity to live simply, to learn, or to think, these are some of the many reasons we’re drawn to the wilderness. In the wild, we can explore, reset, refocus, relax, challenge ourselves, measure ourselves, stargaze, see the Milky Way, spend quality time with family and friends, connect with nature…the list goes on.
We dare say that spending plenty of time outdoors is a fundamental human need. Yet we suspect that for many people, the idea of camping out is simply too overwhelming and difficult. From finding gear to knowing what to do, it can feel intimidating, costly, and strenuous, and that’s what’s stopping most people from doing.
But hear us out. To camp, you don’t need the most expensive gear. You don’t need to have park ranger-level knowledge. With just some basic knowledge and skills, the right kind of gear, and the right mindset, you can enjoy all the beauty the outdoors can offer. And we’re going to show you how in this complete “How to Camp for Beginners” guide.
We’ve divided this guide into six sections. You’ll learn about: what camp gear to pack, how to plan for and set up camp, basic camp skills, camp cooking, camp etiquette, and the all-important camp safety.
What Gear to Pack for Camp
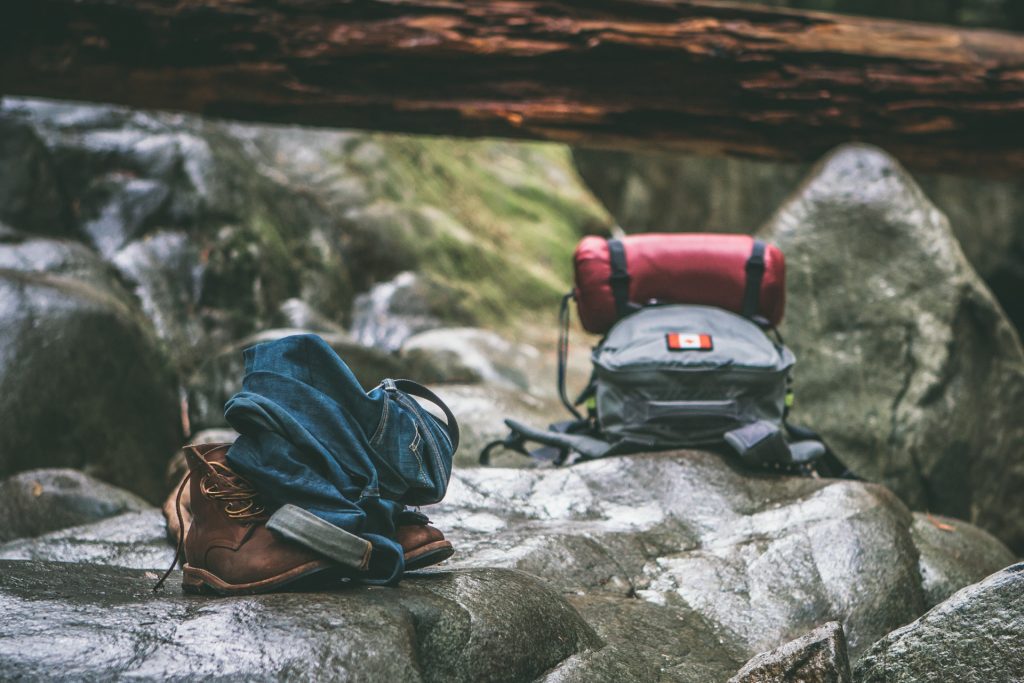
When you head out into the wild, far away from the comforts of home, it can be tempting to overpack. Your mind enters this “what if we need this” mode and you end up bringing things that you thought you needed but never ended up using.
On the other hand, it can be easy to forget essential items. At home, you wouldn’t have to think twice about a heat source since you can simply turn on the thermostat. But if you forget to bring a lighter to camp, you’re going to have a heck of time building campfires, which are used not only as a heat source but for cooking and even as an emergency signal.
Simply put, you don’t want to pack things that you don’t need and forget things that you do. That’s why having a checklist is important and why we’re going to share ours with you.
In our checklist, we list essential items that most campers will need. Some items (medication) are more crucial than others (sandals). You can omit or add items to the list as you see fit.
For beginners, we recommend following this list as closely as possible. As you gain more camp experience, you’ll be able to tailor the checklist to your needs and create your own personal checklist.
Gear Checklist
Campsite Gear
- Tent with stakes
- Tent footprint
- Rainfly
- Tarp and cord
- Cord to use as clothesline
- Sleeping bag
- Sleeping pad or camping cot
- Pillow (optional)
- Bug shelter (optional)
Kitchen Gear
- Stove and fuel
- Matches and fire starter
- Knife and cutting board
- Cooking utensils
- Eating utensils
- Mugs
- Plates and bowls
- Pots and pans
- Can and bottle opener
- Garbage bags
- Ziplock bags
- Biodegradable soap
- Sponge
- Aluminum foil
- Water jug and filter/treatment
Clothes
- Socks, (thermal) underwear, and warm base layers
- Short-sleeved shirts and pants
- Long-sleeved shirts and pants
- Rain jacket and rain pants
- Sweater or warm jacket for cold weather
- Sleepwear
- Gloves
- Wide-brimmed sun hat or cold-weather hat
- Sturdy hiking boots or shoes
- Sandals (optional)
- Bathing suit (optional)
First-aid supplies and toiletries
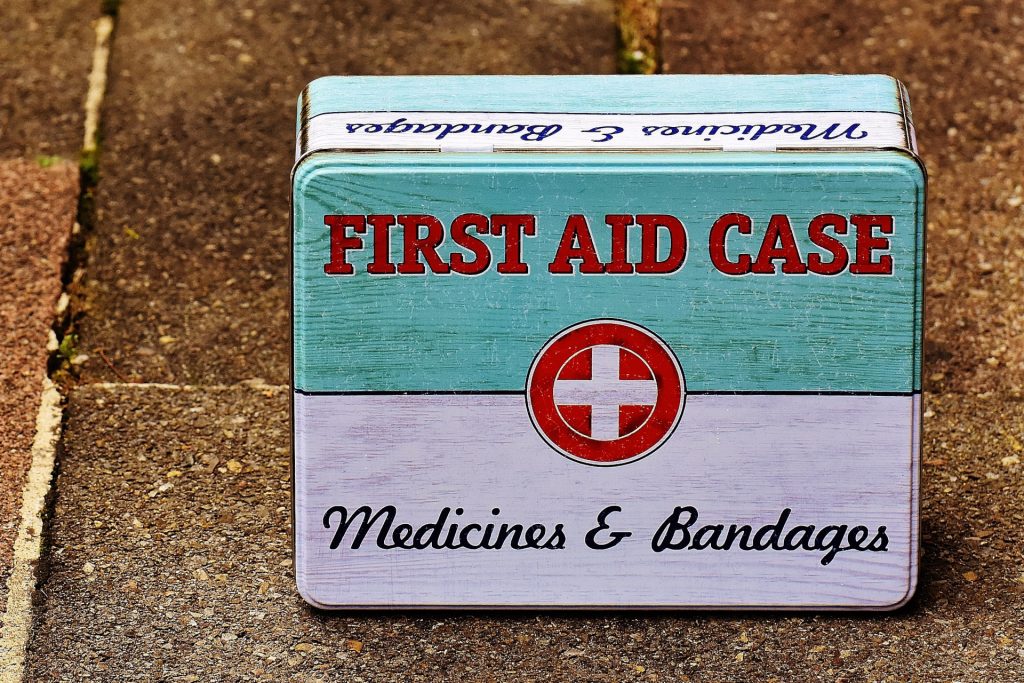
- First-aid kit
- Toilet paper
- Sunscreen
- Insect repellent
- Toothbrush and toothpaste
- Biodegradable body soap
- Towel and face cloth
- Prescription medication
- Feminine products
Other essentials
- Water bottle
- Maps and other information (stored in ziplock bag)
- Glasses and sunglasses
- Whistle
- Multi-tool
- Duct tape
- Headlamp and/or flashlight
- Lantern
- Extra batteries
- Compass
- GPS (optional)
Fun extras
- Bikes
- Camera
- Cards and games
- Reading material
- Journal and pen/pencil
- Binoculars
- Coffee
- Coffee brewer (such as a French press, drip cone and filter, percolator)
How to Plan For and Set Up Camp
You now have all the gear you need and are ready to go! The question is where to? In this section we’re going to show you how to choose a campground and what you need to do when you arrive to camp.
Step 1: Choose a Campground/Park
National parks have some of the most amazing geology and landscapes. They offer endless opportunities to explore, making them one of the most popular camping destinations. They’re also full of established campsites that make camping for beginners easy. For these reasons, we encourage campers to choose national parks as their camping destination.
National parks have the benefit of facilities. They often have accessible paths, toilet facilities, running water, picnic tables, and other amenities that make the camping experience more comfortable.
Free camping destinations exist, but camping on those sites risks damage to wild untouched areas. By camping at a national park, you will limit the risk of impact to fragile ecosystems.
National parks are being looked after and are the safer option. You would be checking in and out so park staff can account for your group and give you valuable information for the duration of your stay.
For a list of national park campgrounds and to reserve a campsite, visit the National Park Service website.
Step 2: Pick a Campsite
When you arrive at your campground, the first thing you’ll have to do is check-in at the registration desk. When you’re finished with formalities, it’s time to pick a campsite. By picking a campsite, we mean the area where you’ll pitch your tent and cook meals.
When picking a campsite there is one thing to keep in mind: your surroundings. Try to pick a location that is far from other campers to give each other privacy. Do you prefer to be close to bathroom and shower facilities? Then try to pick a location that is.
Another thing you’ll want to look out for is trees. Do you prefer to camp in an area with plenty of shade? Look up – are there any dead branches that may fall and injure someone? Then that’s definitely not where you want to pitch your tent.
Water source (such as rivers) is also important. It’s generally forbidden to establish your campsite too close to a water source. Be sure to check with your park ranger for rules and regulations when you register.
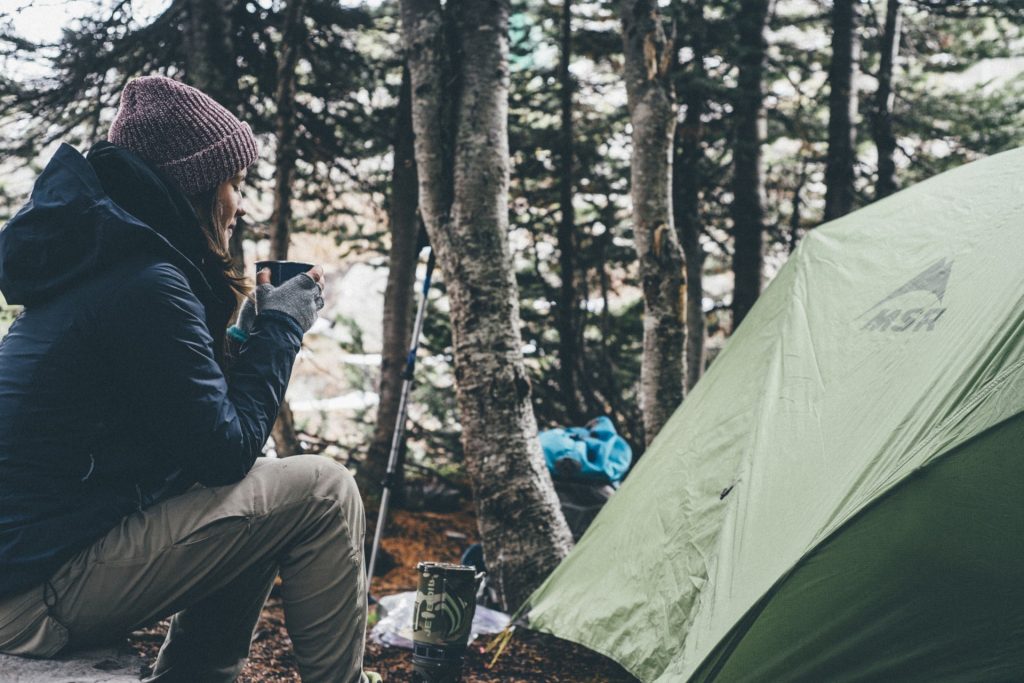
Step 3: Pitch Your Tent
Now that you have a campsite selected it’s time to pitch your tent. To minimize damage to the ground, find an area of sand or gravel that’s relatively clear of debris to pitch your tent.
If there is some debris like twigs or pine cones and sharp objects like rocks, you can remove them while keeping in mind not to alter the area too much. The area on which you pitch your tent should also be relatively flat and not swamp during a rainfall.
We recommend using a footprint for your tent. A footprint is a piece of fabric that you spread over the ground and under your tent. It will provide a layer of waterproofing and insulation against the ground. It will help extend the life of your tent too. We also recommend tying a rainfly over your tent, which will allow you to open the windows while keeping things dry.
Everyone’s tent is different, so go through the instructions that came with your tent on how to set it up. It’s a good idea to practice a few times at home before you head out to camp.
Step 4: Hang a Rain Tarp
Besides pitching your tent, one of the first things you’ll want to do (and definitely before it starts to rain) is hang a rain tarp. The purpose of a rain tarp is to store your belongings underneath it to keep everything dry.
Some people even hang the tarp so that it extends over their tent. It keeps the tent area dry and they can move in and out of the tent, or sit beside their tent, without getting wet.
The best way to hang a tarp is to first tie a rope between two large trees. Then hang the tarp along the rope and anchor it down.
Step 5: Unpack Gear
It’s time to unpack. The only thing we will mention about unpacking is to keep things organized. That way you don’t have to scramble to find things.
Keep cookware in one section, games and sports equipment in another, and so on. Keep these things under the tarp so that they remain dry at all times.
A good idea is to divide responsibility and have one person keep food and kitchen items organized, while another person takes care of other equipment, and so on.
Basic Camp Skills
At the risk of sounding cliché, camping isn’t rocket science. It does, however, require a few basic skills that will make the camping experience enjoyable and safe. It’s a good idea to familiarize yourself with these skills and practice at home before heading out to camp.
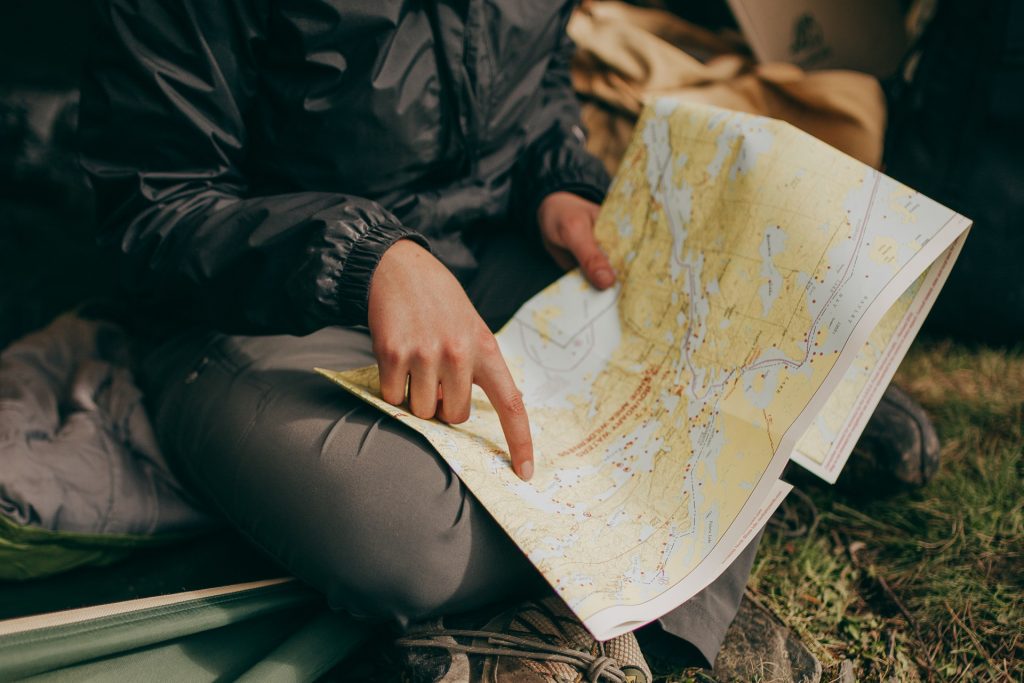
Navigation
One of the skills you’ll use for camping is navigation. Out at camp, it’s not always possible to get a signal or rely on your electronic device.
Before heading out, make sure you learn how to read a map, use a compass, and use a GPS. Study your maps thoroughly. If you plan on going hiking, you’ll want to study all the hiking trails and familiarize yourself with the routes.
Knots
Learning to tie all types of knots is one of the most fundamental skills you’ll need for camping. You’ll be doing lots of tying. You’ll need knots to secure your tarp and hang a food bag. You’ll need knots to secure your equipment to your vehicle and hang a lantern.
We know that it can be difficult to remember all the different types of knots. That’s why we recommend getting something like this waterproof Pro-Knot Outdoor Knots instruction booklet that you can bring to camp.
Before going to camp, we recommend practicing these types of knots ahead of time: bowline (the best all-around knot to know), square knot, tautline hitch, sheet bend, clove hitch, half hitch, trucker’s hitch. You can find instructions on how to tie these knots in the booklet.
Campfire
You definitely don’t want to go to camp without knowing how to build a campfire. Keep in mind that some areas may implement a fire ban for safety reasons, so be sure to review the rules and regulations before you start building a fire.
You will need four things to build a fire: a fire starter, kindling, firewood, and oxygen. A fire starter is something that’s highly flammable such as paper, wax, or lint. An easy way to make your own fire starter would be to collect lint from your washer and dryer and bring a bag of it to camp.
Kindling is small sticks and twigs that ignite via your fire starter. Their purpose is to produce enough heat to ignite the firewood. You can find twigs near your campsite. Be sure to collect the ones that are dry.
As for firewood, any large log will do. Their purpose is to keep the fire burning. Make sure you wear gloves when handling firewood, and use firewood that’s purchased or collected near your campsite to avoid bringing in foreign organisms to the site.
When building a campfire, make sure you choose a safe location. Use the rock ring if there is one. If not, you can build your own rock ring and build your campfire within its boundaries. Your rock ring should have a diameter of about three feet. This would be large enough to place your wood and small enough to be safe.
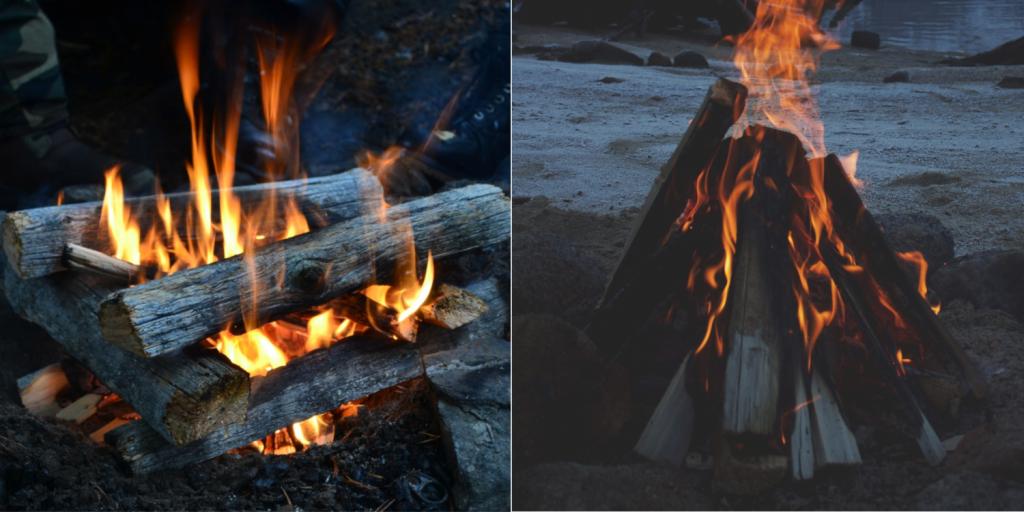
The two most common types of campfire structures are log cabins and teepees. Log cabins are best when you want a fire that burns for a long time. Large logs are laid out to form a square, which surrounds the fire starter and a layer of kindling that are placed in the middle. A teepee structure will ignite relatively quickly and makes them great to build for cooking purposes.
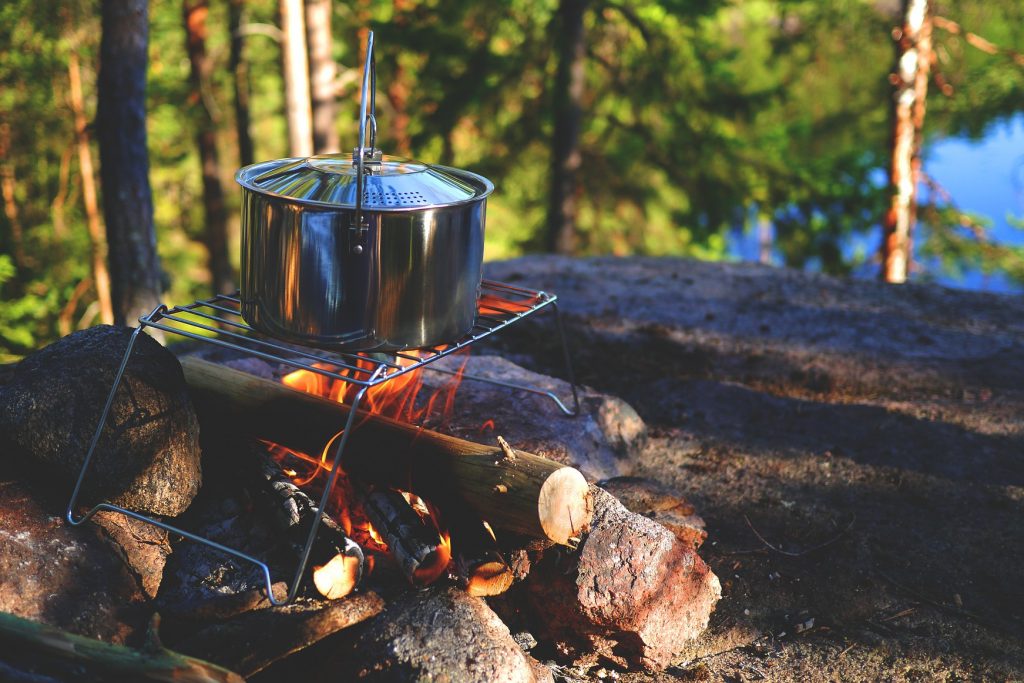
To build a campfire for cooking on a grate, you can simply place a large log underneath the grate and lean some kindling against the log. Then put the fire starter underneath the kindling and light it.
To extinguish a fire, douse it with plenty of water. If you have no water, use sand and dirt. Spread the coals with a poker and stir in sand and dirt until extinguished.
Camp Cooking
One of the things we look forward to when camping is the food. For some reason, camp makes everything taste better. Perhaps it’s the way food is cooked over an open fire, or it’s the pleasant scenery that surrounds your dining area.
As far as camp cooking is concerned, we would like to suggest some best practices and ideas for you to consider.
Planning Meals
Write a meal plan for the entire duration of your stay, plus an extra day for emergency, and list the ingredients you need to get for when you go to the supermarket.
For your meals, try to consolidate as much as possible. Cook one-pot meals instead of multiple pot ones.
Choose ingredients that are high in nutrients, complex carbohydrates, and calories to give your body enough energy to get through the day. You’re going to burn a lot of energy at camp with all the potential outdoor activities you’ll be enjoying.
Some ideas include:
Ingredients Checklist
- Potato
- Pasta and sauce
- Canned meat and fish
- Onion
- Mushroom
- Zucchini
- Carrot
- Bell pepper
- Cheese
- Apple
- Banana
- Bread/tortilla
- Dried sausage
- Egg
- Bacon
- Tofu
- Seasoning (salt, pepper, garlic, sugar, etc.)
- Cooking oil and butter
- Chocolate
Food Storage
Avoid bringing food with a strong odor that would attract wildlife. Some campsites have food bear boxes or food poles where you hang your food to avoid attracting wildlife.
Use airtight sealable bags and coolers to keep food fresh. Limit the amount of perishable food you bring and if you do bring some, use ice packs and well-insulated coolers and make sure you eat those items first.
Always, always, always clean up after you cook and eat and keep all areas clean to avoid attracting unwanted visitors. Never leave food unattended and always store everything away before leaving your campsite.
Food Handling
At camp, you may not have the all the counter space you need to prep food as you would at home. The one big thing we’d like to say about handling food is to be careful of cross-contamination.
For instance, do not use a cutting board and knife to handle raw meat, and then use the same cutting board and knife to cut fruit or anything that you’re going to eat raw.
Always wash your hands with soap and water when finished one task before switching to another task.
Water
For drinking and cooking, how you will source your water will be something to keep in mind. If your campsite has running water facilities then you will have less to prepare. If it doesn’t then you’ll want to bring water in multi-gallon containers.
Another thing to keep in mind is water safety. Don’t take any chances – filter and boil your water every time.
Cooking Method
You can use a campfire to cook if your campsite allows you to build one. The best part about using a campfire to cook is you can get a smoky flavor that’s hard to replicate using other cooking methods.
The trick to cooking with a campfire is to allow the fire to burn down to a glowing ember. If the fire is still roaring flames, your food will simply burn. A cast iron Dutch oven is a great pot to use when cooking over a campfire.

If your campsite doesn’t allow campfires, or if you prefer something easier to work with, then you could use a camp stove to cook. For average-sized families, we recommend getting a camp stove with two burners.
A good rule of thumb is to have one burner per two people. If your group is over four people, you can definitely make do with a couple of two-burner stoves. Otherwise, you can add an extra single burner and it should definitely be enough for even a larger group.
Camp Etiquette
Camp etiquette is about limiting damage to the environment and disturbance to fellow campers. While it is not the same as adhering to strict rules and regulations, respecting important camp etiquette will make the camping experience an enjoyable and safe one for everyone, and preserve that experience for years to come.
Leave No Trace Principles
The Leave No Trace principles are a set of outdoor ethics principles that were devised many years ago in an attempt to educate people to minimize the impact on the environment caused by their outdoor activity. Leave No Trace consists of seven principles, which are:
- Plan Ahead and Prepare: Proper planning means less impact. When people are not prepared, they put themselves in situations where they have to lean heavily on natural resources, damage land, and engage in dangerous behavior – putting themselves and others at risk.
- Travel and Camp on Durable Surfaces: Camping on fragile vegetation will damage them beyond recovery, trample communities of important organisms, and cause soil to erode. Traveling on durable surfaces means following trails instead of forging new paths, and camping on durable surfaces means choosing surfaces that are rock, sand, and gravel.
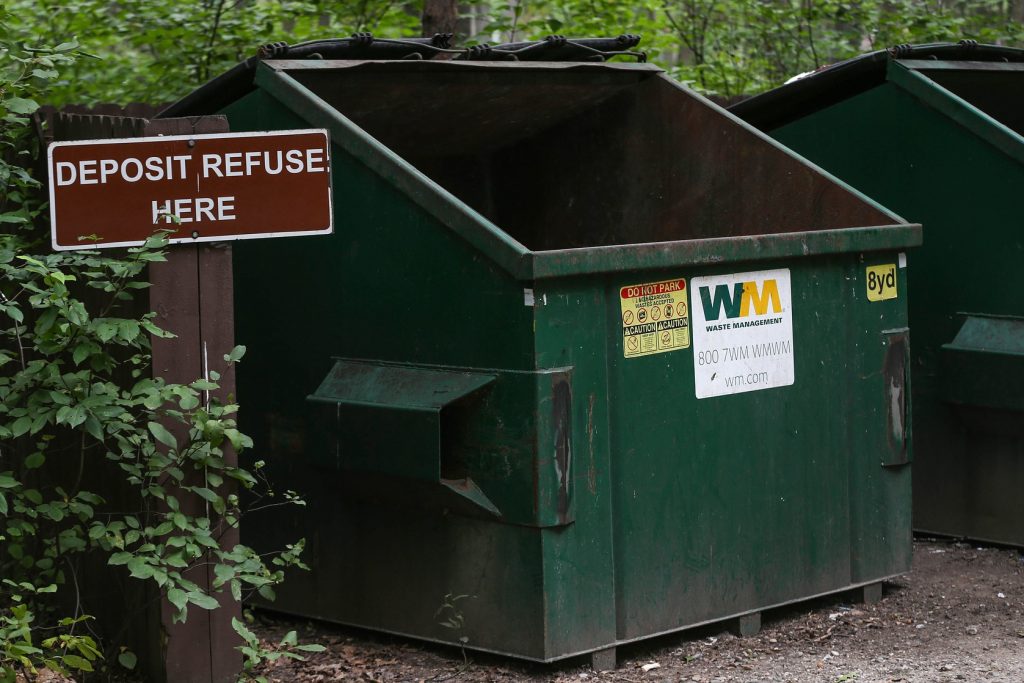
- Dispose of Waste Properly: One of the biggest issues caused by outdoor recreational activity is waste pollution. Human feces should be disposed of in the appropriate bin or cat hole, and all garbage should be disposed of in trash bins or carried out when none are available. Campers should also keep in mind to minimize the use of toilet paper and (biodegradable) soap to avoid polluting the areas.
- Leave What You Find: Leave areas as you find them. Do not cut tree branches, do not hammer nails into trees, do not permanently clear areas of rocks and twigs, do not dig trenches for your tent, do not pick flowers, etc. In national parks, it is illegal to remove natural objects.
- Minimize Campfire Impacts: Campfires can degrade the natural appearance of the outdoors and increase demand for firewood. Keep your campfires small and use alternatives to campfires as much as possible. For instance, limit the use of a campfire to cook by using a camp stove instead.
- Respect Wildlife: Do not disturb wildlife. Do not get close to them, do not feed them, and do not pick them up. Observe them from afar and keep noise level down so as not to cause them stress.
- Be Considerate to Other Visitors: Do not disturb your fellow campers. Respect their space and privacy. Keep noise level to a minimum. Always, always consider whether your experience is affecting others in some way.
Noise
The Leave No Trace principles covers this bit, but just to expand, be courteous to your fellow campers and always keep noise level to a minimum. This is especially important during night hours from 10 p.m. to 6 a.m. Keep in mind that your voice and music can carry a long way outdoors.
Personal Space
You wouldn’t pass through your neighbor’s backyard without permission, so please don’t do it at camp. Do not pass through another campsite without the other party’s permission. It’s also a good idea to set up your campsite with a reasonable amount of space away from your neighbor.
Light
Just like your voice, light can carry a long way outdoors. Light can affect one’s ability to sleep or enjoy the night sky in complete darkness. When it gets dark, aim to keep the lights down or turn them off completely so that you can enjoy the beautiful night sky.
Cleanliness
Keep all areas clean at all times. You don’t want to be attracting wildlife to your campsite, so throw away your garbage every night and wash your dishes. While at camp there may be more leeway for a lower level of personal hygiene, but don’t let it get too out of hand.
Camp Safety
The last and perhaps the most important thing we’d like to cover is camp safety. We’ll share with you some of the things you and your group should look out for, how to manage certain emergency situations, and tips to make your camping trip as safe as possible.
Personal Safety
Camp provides opportunities for various physical activity and outdoor fun, but to do so in a safe way requires you to know your limits. For some that could mean whitewater rafting, for others that could mean a relaxing hike around the lake.
The key to enjoy camping safely is to do what’s right for you. Assess your fitness level and health condition and be sure to ask your doctor if you’re unsure if you should take on certain activities.
Make sure you stay hydrated by drinking lots of water, especially during the hot summer months and when you take on strenuous activity. Bring water with you on your hikes and wear protection such as hats, long-sleeve shirts and pants, sunscreen, and insect repellent to avoid mosquitoes, ticks, and other bugs.
Always stay on paths and stay together to avoid getting lost. It’s a good idea to carry whistles and a first aid kit in case of emergency. Always use the buddy system and never travel anywhere alone unless absolutely necessary.
Keep an eye on the weather and an eye on your surroundings. Generally speaking, you should check the weather before going off to camp and if it looks like there’s a huge chance of rain it’s better to reschedule.
If you happen to be caught up lightning the best thing to do is to seek shelter in your car (if no buildings are around) and wait for it to pass. Close the doors and roll up all the windows.
Emergency Situations
We’re not going to sugarcoat this. Camping can be dangerous. It could even be life-threatening. But it doesn’t have to be, as long as you’re prepared.
What are the things that could happen to you at camp? Well, you could have a physical injury such as a burn or a broken bone. In this case, assess the severity of the injury and determine whether it requires light treatment or a call to 911.
If you need to call 911, make sure you have this information ready: your location, the type and extent of the injury, and any medical conditions the person may have.
Another thing that could potentially happen involves wilderness hazards such as poisonous plants and ticks. All it takes is for someone to come into contact with poison oak, poison sumac, or poison ivy to contact dermatitis.
If you happen to develop a rash, wash the area well with soap and water and apply a cold compress. Then rub over-the-counter corticosteroid cream over the area and take an over-the-counter oral antihistamine to reduce inflammation and itching.
Ticks are hazards because they may transmit diseases such as Lyme. If ticks are a known hazard in the area that you camp, frequently check your body and clothing for ticks, and for added protection, wear long pants tucked into socks and tuck in long-sleeved shirts.
If you’ve been bit by a tick, remove the insect immediately using a pair of tweezers. Squeeze near the tick’s mouth (not the body) and pull firmly. If part of the mouth stays on your skin, that’s okay. The important thing is to remove the body which is the part of the tick that can transmit disease.
Then clean the area with rubbing alcohol. Watch for the following symptoms and visit your doctor if you experience any of them: rash, fever, chills, headache, fatigue, muscle and joint aches, and swollen lymph nodes.